A Well Dressed Sewing Machine - Cover Tutorial
My poor sewing machine works hard and has to put up with my creative tantrums and cursing, so it's time to show some love by making a pretty little cover for it.
Dust and fluff can cause havoc with the internal workings of your sewing machine so always try and cover it, or keep it stored in a cupboard. This machine was supplied with a plastic cover when I bought it, but there was always an air of 'body bag' about it... *shudder*
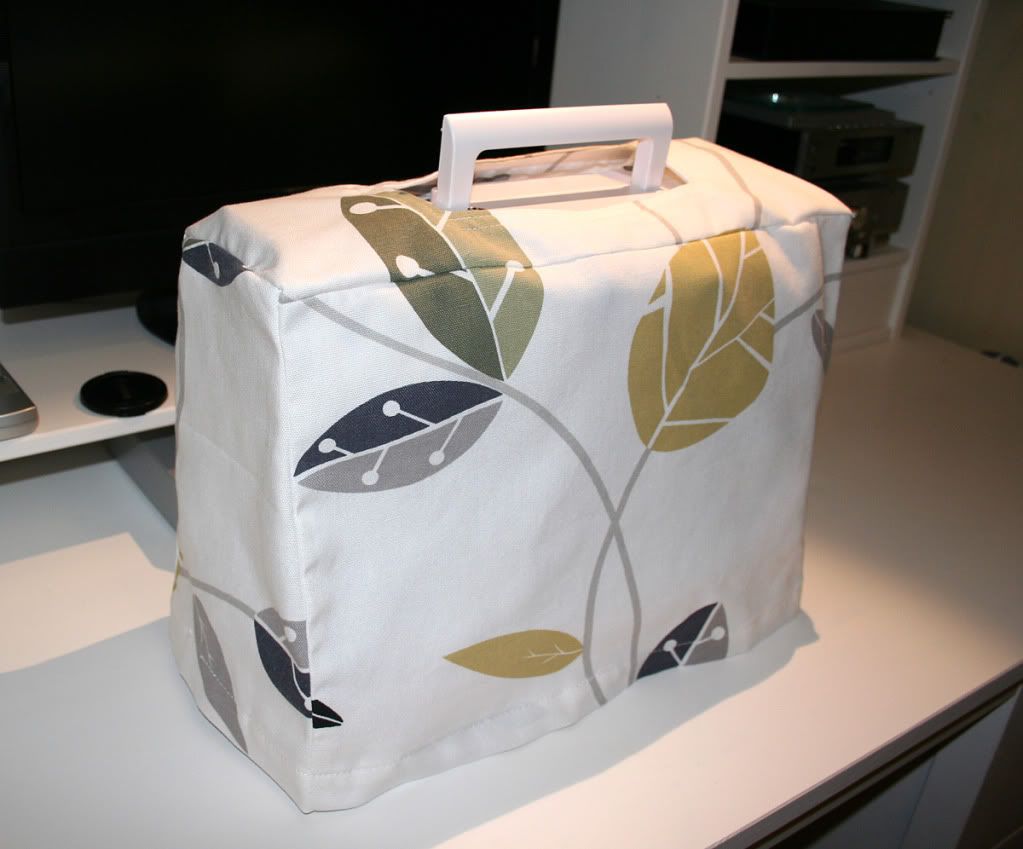
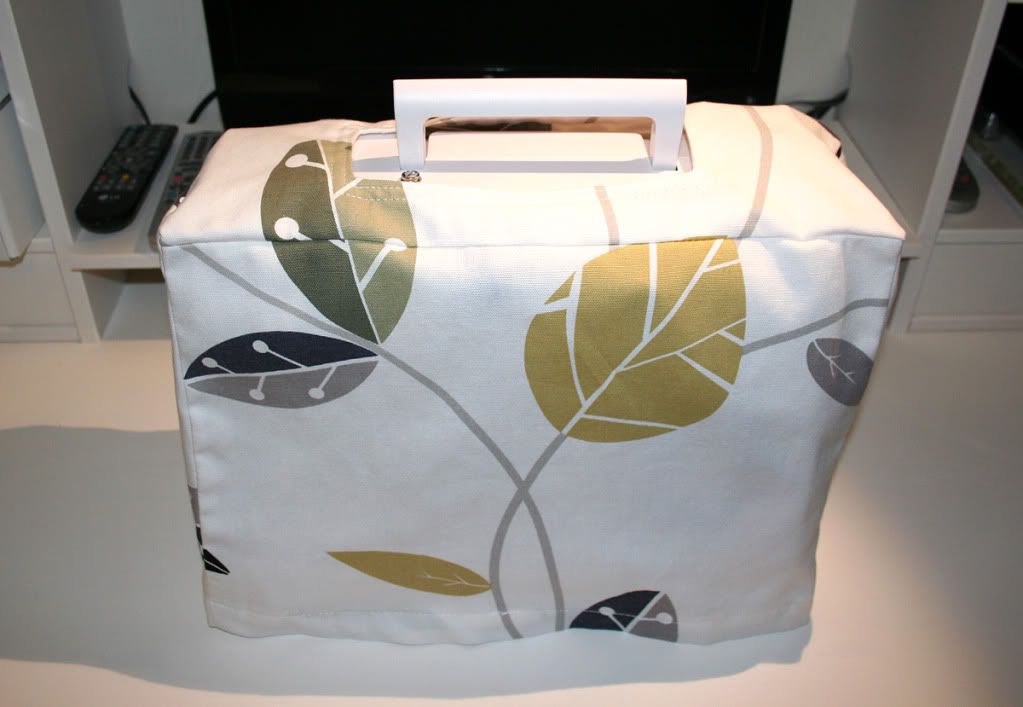
Not content to do things the easy way, I decided I wanted a cover with access to the carry handle on the machine.
Here's what I did...


Measure your machine from the back, over the top and down the front. Also measure the width of your machine. This rectangle makes the front, top and back piece of the cover.

Now turn to the side area of your machine, measure the width at the bottom and top, and also the height to give you the shape shown below (technically known as an 'isosceles trapezium' ....the power of Google eh?!)


I find it easier to draw the shapes and add the measurements. Don't forget to add seam and hem allowances to your pattern pieces. I added 1cm seam allowances and a 4cm hem allowance. You need to cut 1x large piece and 2x side pieces from your fabric.
Measure and mark where you need the handle opening to be on the wrong side of the main piece.
Cut a facing piece for the handle opening. It needs to be the same size as the handle opening, plus an allowance of 5cm around all sides.


Sew the side pieces to the main fabric piece, go slowly around the corners and adjust to avoid puckering. Neaten the raw edges.


Not content to do things the easy way, I decided I wanted a cover with access to the carry handle on the machine.
Here's what I did...
Choose a fairly sturdy fabric, I went for a heavyweight printed cotton I bought at The Remnant House
Measure and mark where you need the handle opening to be on the wrong side of the main piece.
Cut a facing piece for the handle opening. It needs to be the same size as the handle opening, plus an allowance of 5cm around all sides.
You can see in the photo above the facing piece, showing the markings for the handle opening plus the allowance. Neaten the raw edges, press 1cm towards the wrong side all the way round the facing piece, and sew into place.
Right sides together, pin the facing piece into place where the handle opening should be. Sew along the handle opening markings.
Cut open the facing down the centre line, and diagonally into the corners, to within a couple of millimetres's of the stitches.
Trim the excess fabric away leaving a 1/2 cm allowance.
Turn the facing through to the wrong side and iron into place.
Topstitch around the faced opening on the right side, I did two lines of top stitching. This will hold the facing into place and stop it trying to escape back through the opening.
There, the hard part is done!
Staying with the main fabric piece measure where the edges of the top would be, and created a fake seam. This helps to create the box shape and stiffens the top edge.
Try the cover on the machine and pin the hem into place, turn over twice to enclose the raw edges and sew the hem into place.
And there you have it, a cover to protect your machine that allows you to use the carry handle.
(Please note: tutorial for personal use only, not for resale)

Comments
I pay in biscuits ?
Post a Comment
I love reading your comments, so let me know what you think! x