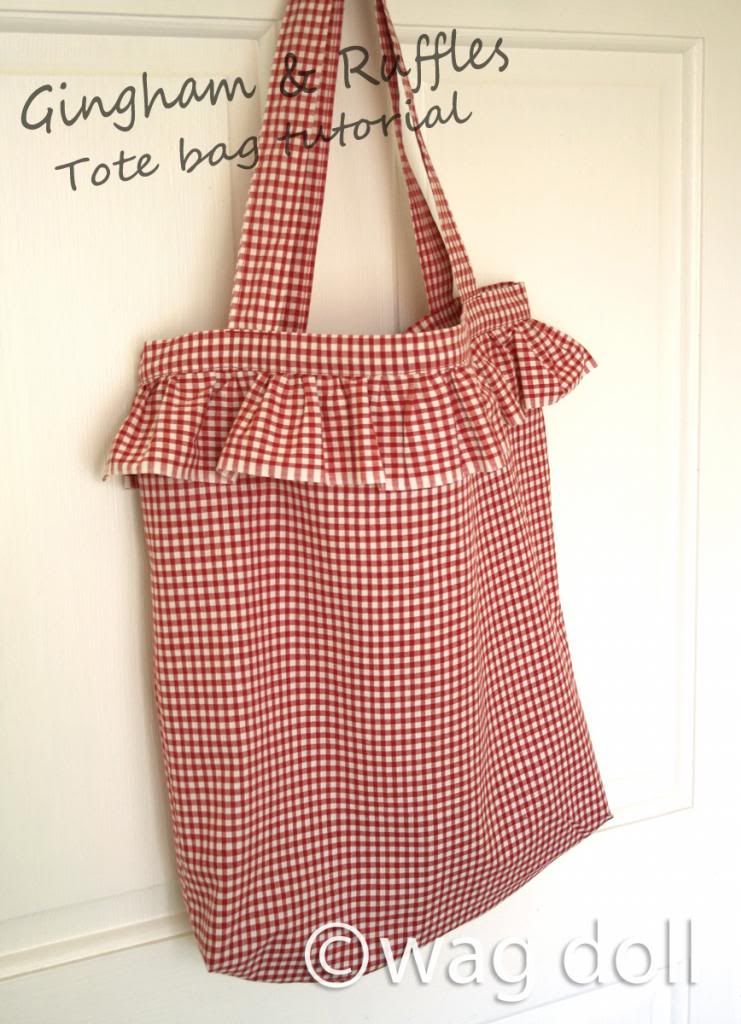
Gingham and Ruffles - Easy Tote Bag Tutorial
Hey lovelies,
A couple of weekends ago I had a good tidy up of my sewing area and found 2 yards of cotton in a red and white gingham check, and thought it would be perfect for an easy vintage inspired tote bag I'd been planning.
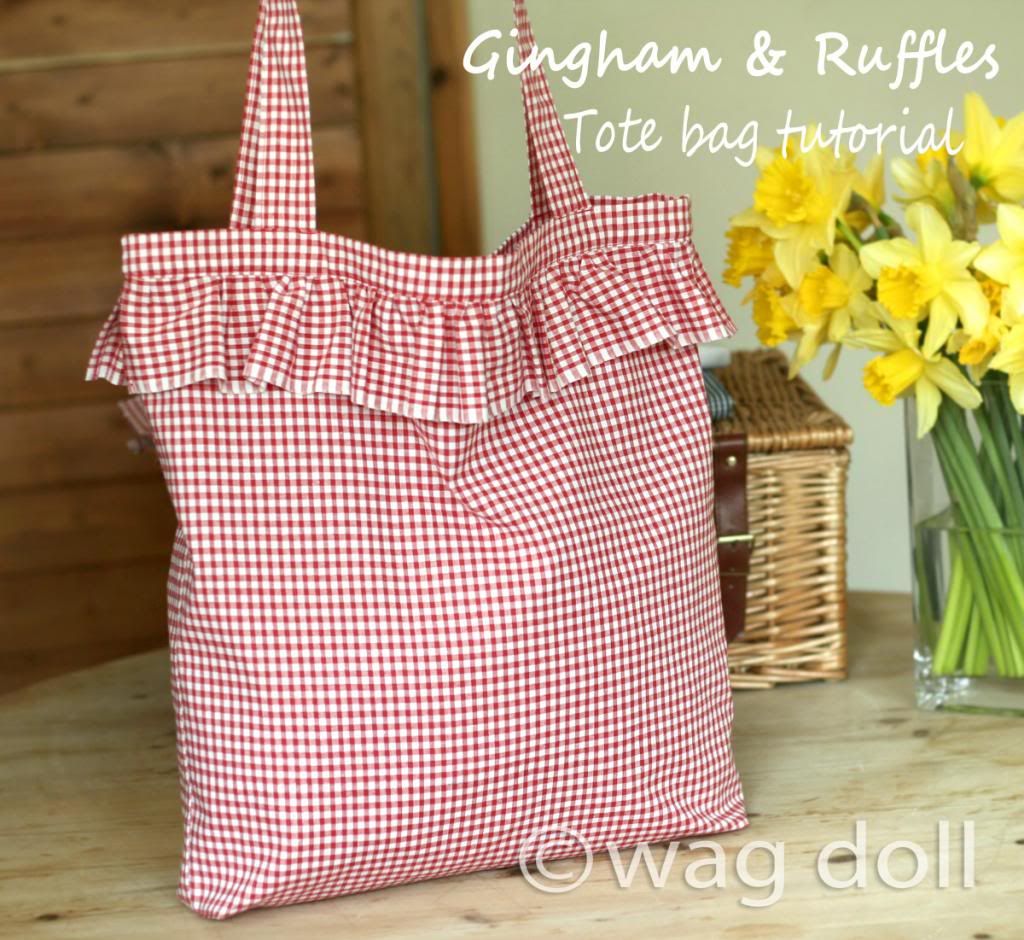
Aren't the spring daffodils gorgeous? So nice to have some colour in the garden at last.
Although the bag is super easy I also wanted it to be well finished and strong, so all the seams and raw edges are enclosed, in fact it's practically reversible as you can see below. Gotta love French seams!
And the reason for making the bag? (Not that we crafters ever need a reason for making a new bag...) Well, I'm ashamed to say that this is how I carry around my current projects.
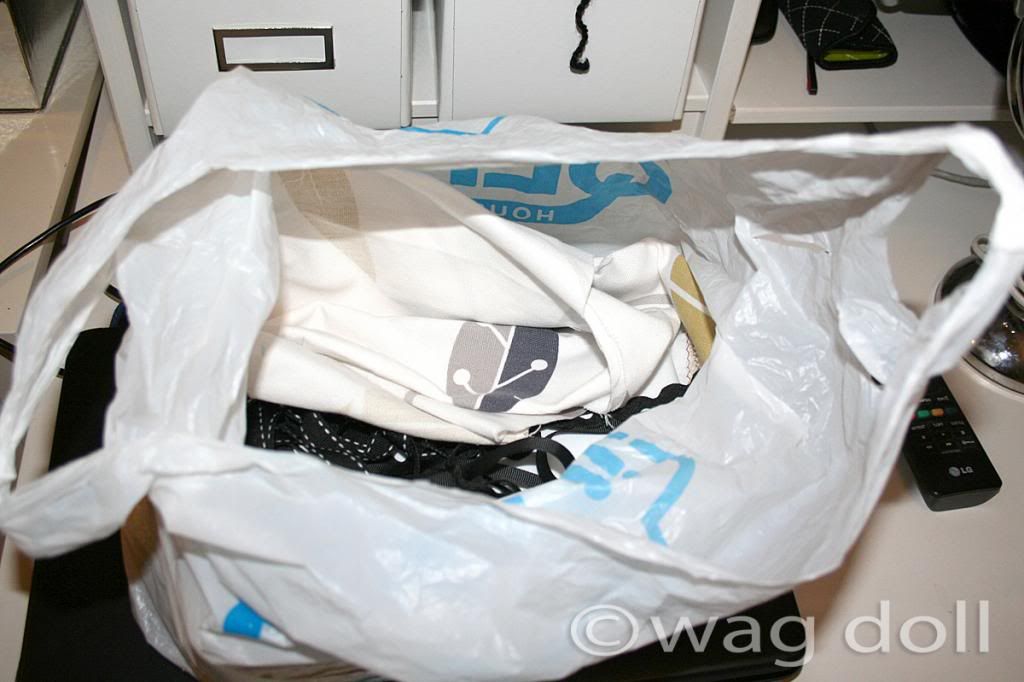
Seriously! I've made plenty of bags for grocery shopping but I still store my sewing, knitting and crochet in a motley collection of 'plaggy' bags (Yorkshire speak for plastic grocery bag) *hangs head in shame*. Notice how that photo is smaller than the others....I can't bare to see it on a large scale!
So when I found the gingham in my fabric stash I knew it would be a perfect remedy. (Please tell me I'm not the only crafter guilty of this crime?)
Read on for a step by step tutorial ...
You will need;
1 1/2 yards cotton fabric (60" wide)
Matching cotton thread
To make;
(Please note: tutorial for personal use only, not for resale)
A couple of weekends ago I had a good tidy up of my sewing area and found 2 yards of cotton in a red and white gingham check, and thought it would be perfect for an easy vintage inspired tote bag I'd been planning.
Aren't the spring daffodils gorgeous? So nice to have some colour in the garden at last.
Although the bag is super easy I also wanted it to be well finished and strong, so all the seams and raw edges are enclosed, in fact it's practically reversible as you can see below. Gotta love French seams!
And the reason for making the bag? (Not that we crafters ever need a reason for making a new bag...) Well, I'm ashamed to say that this is how I carry around my current projects.
Seriously! I've made plenty of bags for grocery shopping but I still store my sewing, knitting and crochet in a motley collection of 'plaggy' bags (Yorkshire speak for plastic grocery bag) *hangs head in shame*. Notice how that photo is smaller than the others....I can't bare to see it on a large scale!
So when I found the gingham in my fabric stash I knew it would be a perfect remedy. (Please tell me I'm not the only crafter guilty of this crime?)
Read on for a step by step tutorial ...
You will need;
1 1/2 yards cotton fabric (60" wide)
Matching cotton thread
To make;
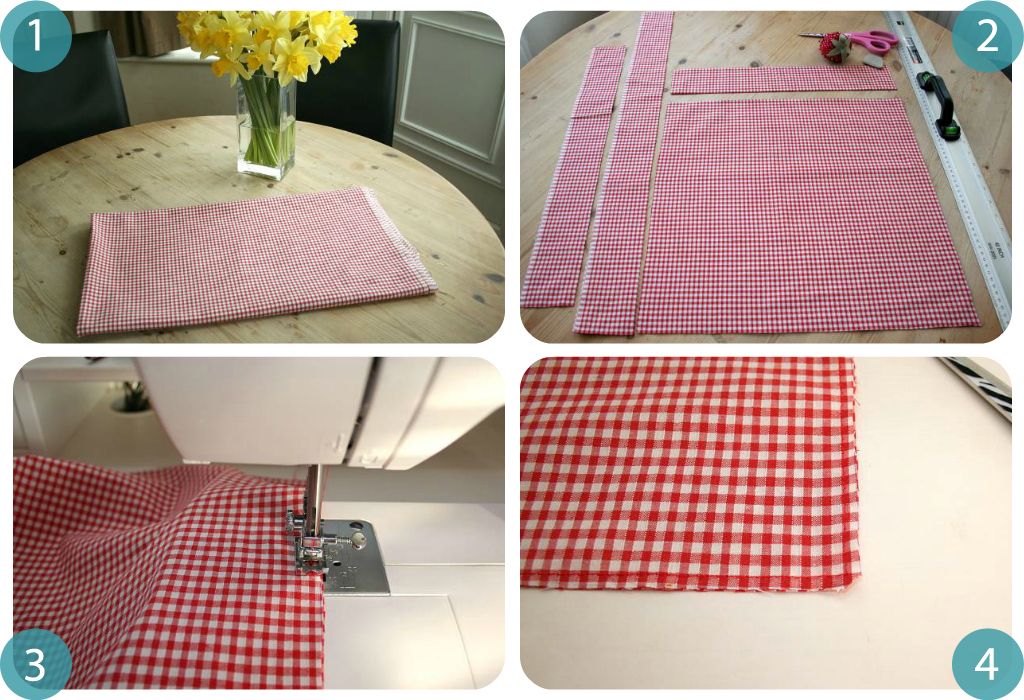
1 - Wash & iron your fabric. Daffodils optional :-)
2 - Cut the following pieces
17" x 17" - 2 pieces (bag front & back)
30" x 3" - 2 pieces (frill - try to cut one of the long edges of each piece on the selvedge)
23" x 3" - 2 pieces (handles)
17" x 3" - 2 pieces (bag top)
3 - To make the enclosed French seams: place the bag front and back pieces wrong sides together (yes, wrong sides together) sew a small seam down the side, along the bottom and up the other side.
4 - Trim the corners to remove some of the fabric bulk.
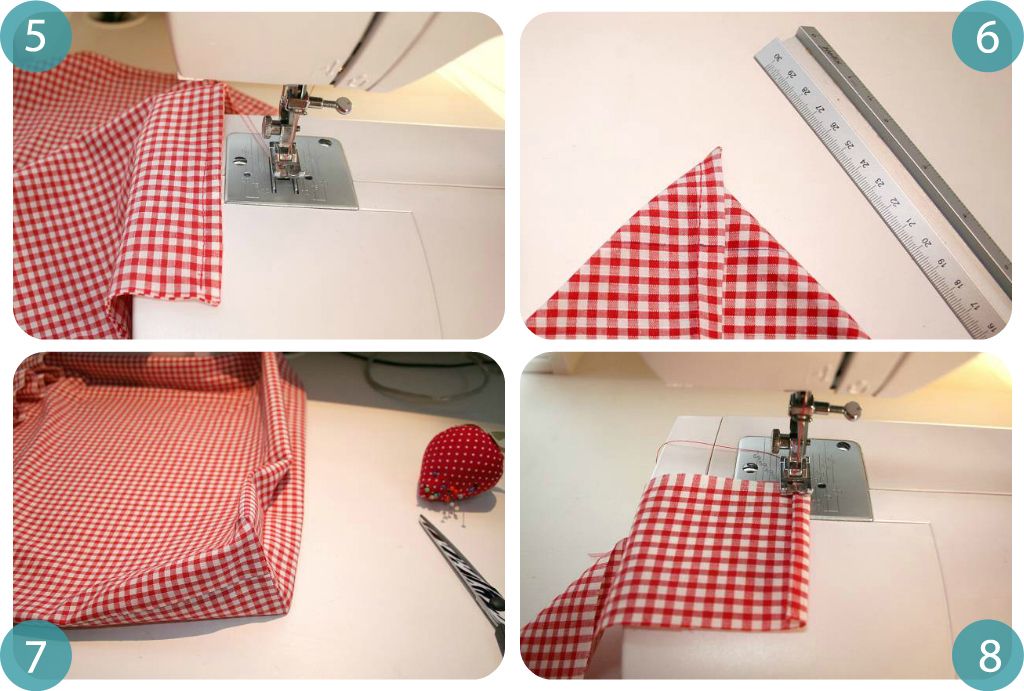
5 - Turn the bag inside out so you now have right sides together, poke out the corners and press. Sew a seam down the side, along the bottom and up the other side enclosing the previous seam.
6 - To make the flat bottom of the bag, keep the right sides together. Flatten the bag so the side seam is on top of bottom seam, and the bottom corner point has become the top of the triangle shown above. Mark 1 1/2 inches down from the point and draw a line across at 90 degrees to the seam. Sew along the line.
7 - Turn the bag right sides out and press the seams.
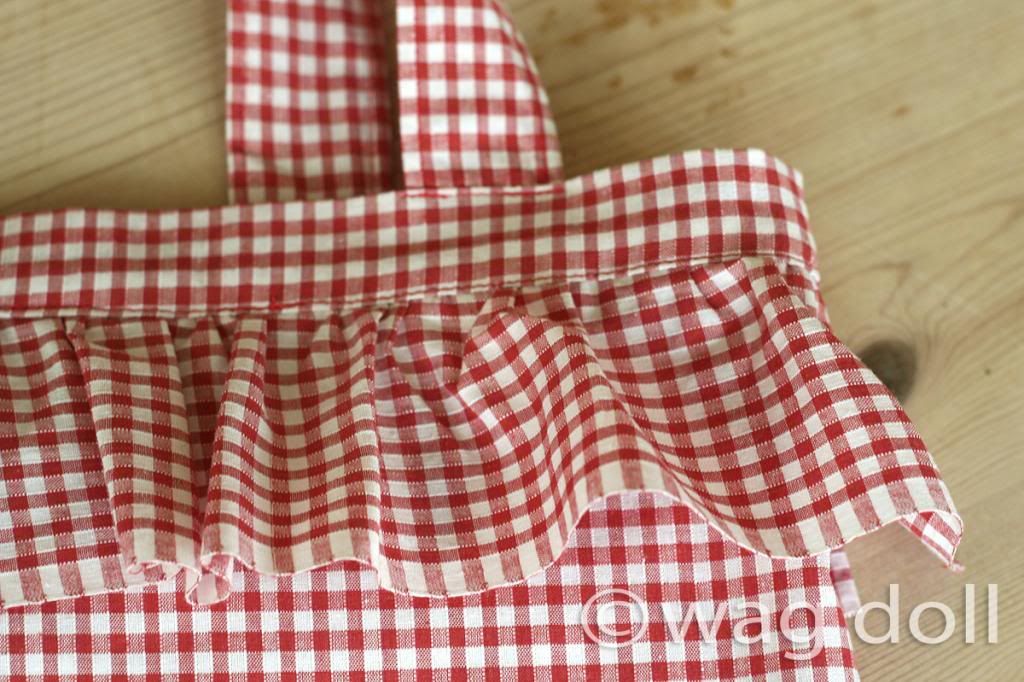
8 - To make the frill - If you cut the frill on the selvedge you won't need to hem it, if you didn't then create a small hem along one of the long edges. Also hem each short side edge. Repeat for the second frill piece.
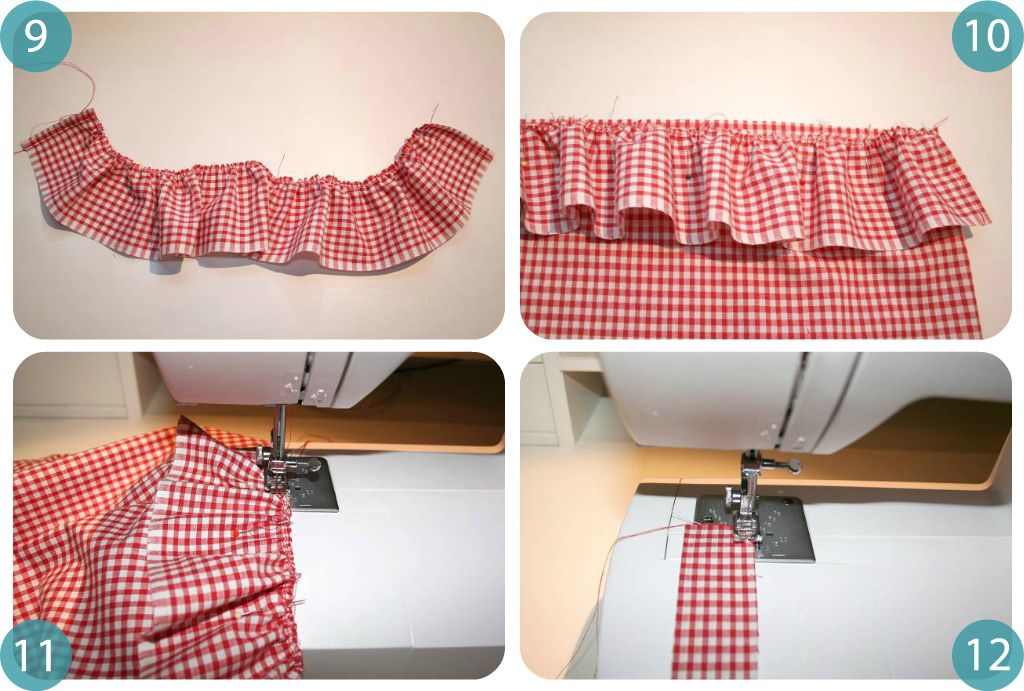
9 - Run a gathering stitch along the raw edge of the frill (2 rows of long straight stitch). Pull up the loose ends to gather the fabric. Gather the frill to the same width as the bag. Repeat for the second frill piece.
10 - With the bag right side out, pin one of the frills to the front of the bag lining up the raw edge of the frill to the raw edge of the bag. Repeat for the second frill, pinning it to the back of the bag. (Make sure the right side of the frill is facing out ie: right side of the bag is against the wrong side of the frill)
11 - Sew the frill to the bag with a 1/4 inch seam.
12 - To make the handles: Fold one of the handle pieces in half longways, right sides together, and sew a seam down the long edge. Turn right side out, press and top stitch down each long edge. Repeat for second handle.
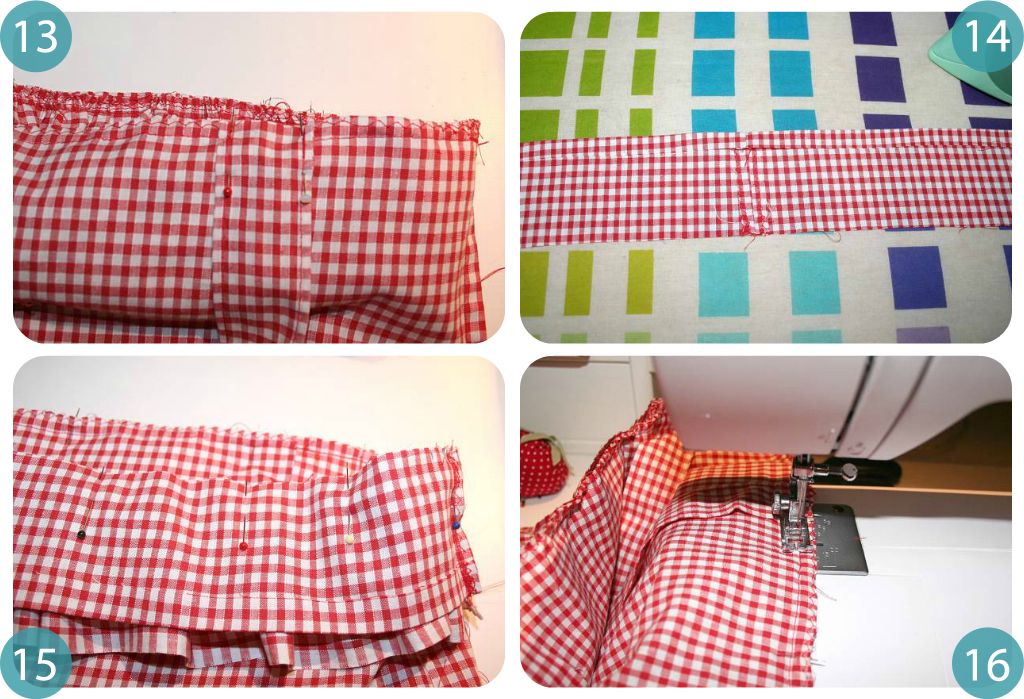
13 - Pin handles to wrong side of bag (one for the front, one for the back), with the handle hanging down the bag (raw edge of handle lined up with the raw edge of the top of the bag).
14 - To make the bag top: Place the bag top pieces right sides together and sew seam down one of the short edges, neaten and press the seam open. While at the ironing board turn a half inch allowance along one of the long edges and press (folding to the wrong side). Measure the circumference of the top of the bag, this is how big the bag top piece needs to be, as you will be sewing them together. Mark this measurement on the bag top piece, right sides together sew the remaining short seam on the bag top piece and neaten edges.
15 - With the bag right sides out, pin the bag top piece on top of the frill, right sides together, raw edges matching. Try to match up the side seams of the bag with the side seams of the bag top.
16 - Sew around the top of the bag with a half inch seam allowance, go slowly if necessary as you will be sewing through the bag, frill, bag top and handles.
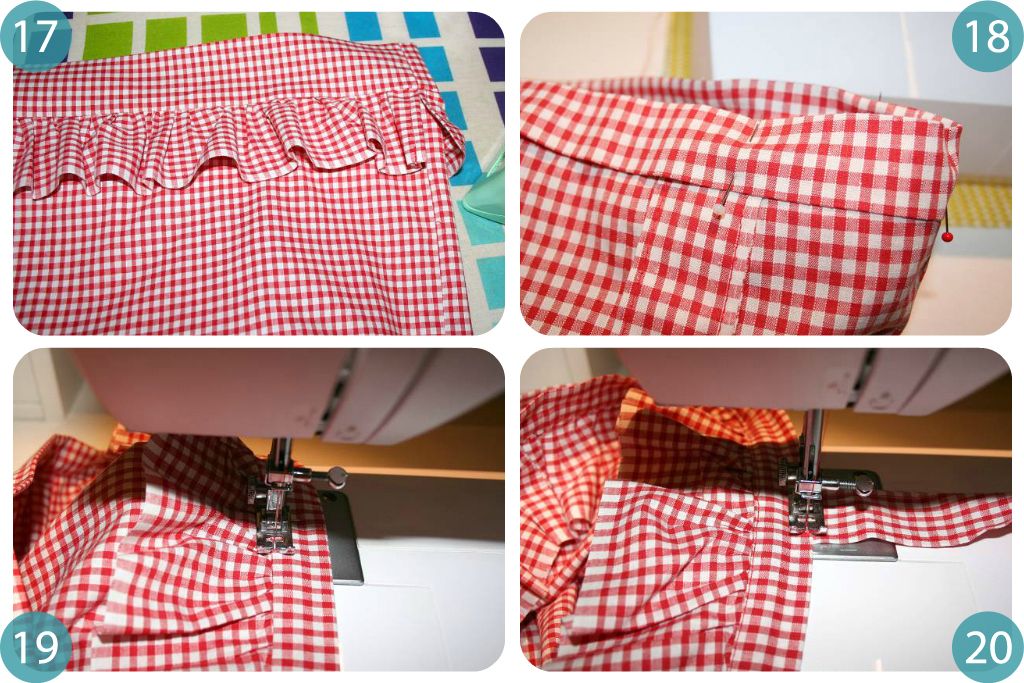
17 - Press the bag top piece upwards away from the frill.
18 - Turn the bag wrong side out. Fold the bag top piece over towards the inside of the bag, matching the folded edge to the stitching line you just made. Press and pin in place. (You can see the handles hanging down against the inside of the bag in this pic).
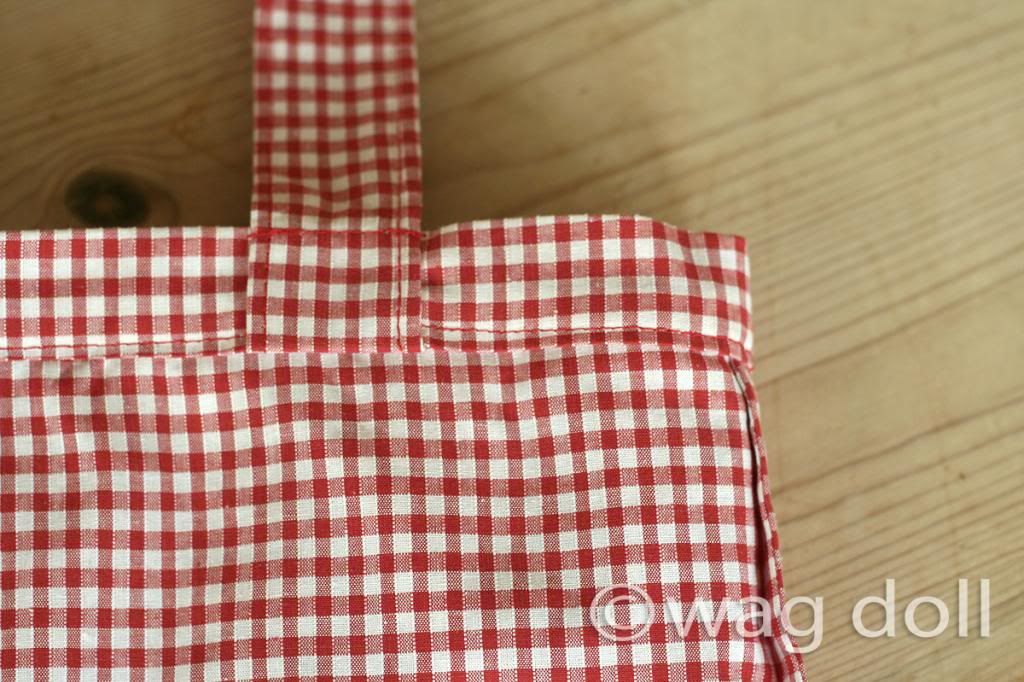
19 - Turn the bag right side out, top stitch along the lower edge of the bag top, catching in the folded edge you've just pinned (remove pins as you sew)
20 - Fold and press the bag handles upwards, and top stitch around the top edge of the bag, catching the handles into place.
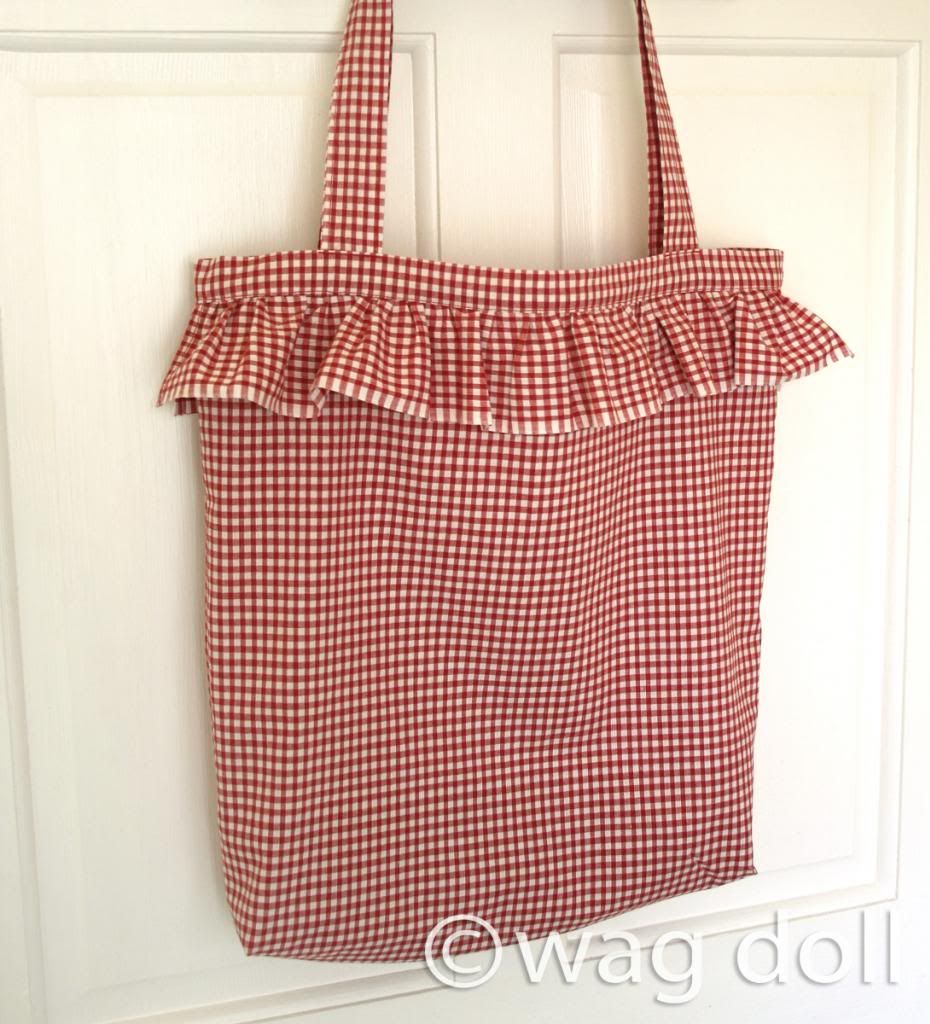
And your ruffled bag is finished!
Now I have no excuse for the shameful plastic bags for my craft projects. I'm planning to make a series of bags and fabric baskets to store my projects in, as I tend to have quite a few on the go at any one time! Once again, surely I'm not the only one who does this ? :-)


Comments
http://kalandjaimatuvel.blogspot.hu/2013/04/kek-kockas-blue-tote-bag.html
Thank you again for the great tuto!!!
non woven bag machine
Post a Comment
I love reading your comments, so let me know what you think! x