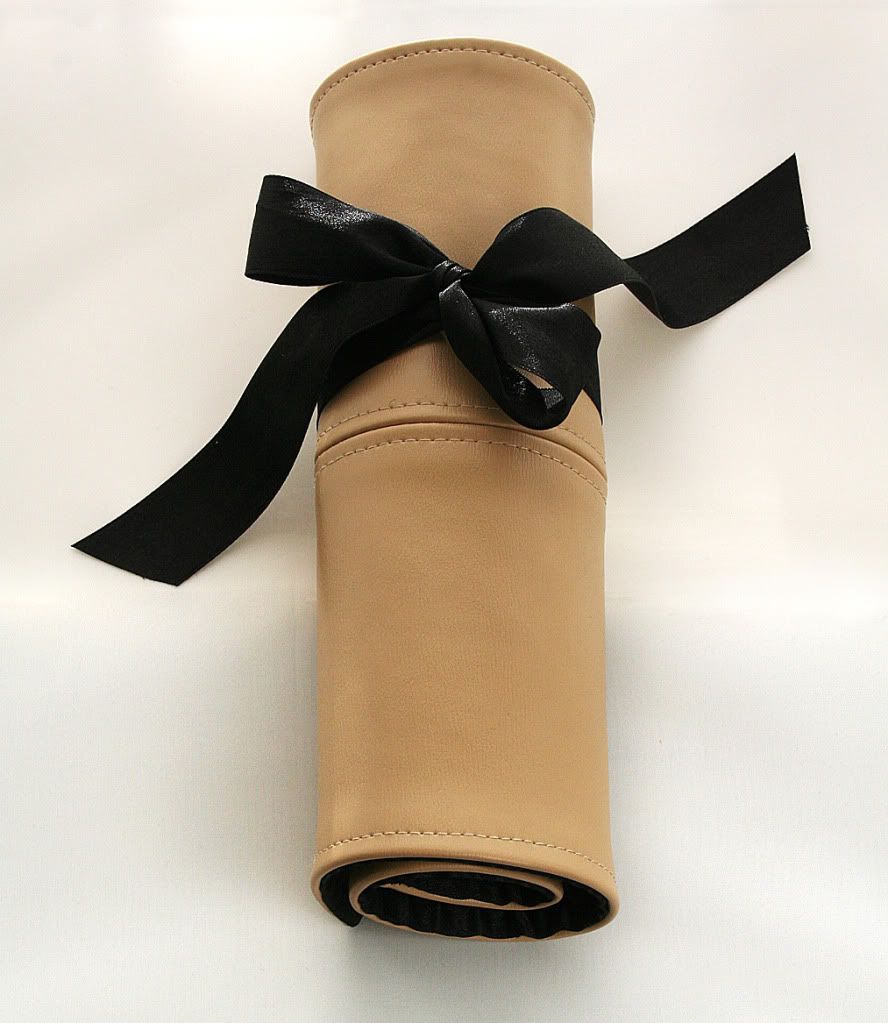
Faux Leather Make-up Brush Roll Tutorial
In addition to an ever increasing collection of make-up, I've always had a love of brushes to apply my warpaint..so to speak. Good make-up brushes aren't cheap but will last a long time if you clean them regularly and store them correctly. So here's a tutorial for a (faux) leather make-up brush roll.
The roll can be tailored to suit your own brush collection, or even adapted for pens, pencils or knitting needles.
Read more, for the tutorial....
I originally had the intention of making the brush roll from cotton, but then I remembered the beige faux leather from my fabric stash, perfect! I call this type of fabric 'faux leather', but fake leather or vinyl is fine, I just can't bring myself to call it 'pleather'...urgh there's something very unpleasant about that word that makes my skin crawl!
Faux leather requires a couple of considerations when sewing. Needle and pin holes are permanent so only pin within seam allowances or use bulldog clips. A strong regular needle is fine but go slowly as the fabric is thick. A normal foot can cope with the wrong side of this fabric, but sewing on the right side requires a Teflon or walking foot, or the old skool method of sewing over baking parchment and ripping it off. (Note to self....choose an easy fabric for my next project!)
Items made from real leather tend to have extra seams to join small pieces together, often top stitched. So I incorporated this feature into the roll, but if you're making the project from regular fabric then you can omit this step.
You will need:

Faux leather approx 1/4 yard
Satin lining approx 1/4 yard
Fusible interfacing
Black satin ribbon approx 30"

Cut 2 pieces of faux leather 15" x 5 1/2"
You can adjust these sizes if you want a longer or taller roll, but obviously you will have to adjust all the lining measurements accordingly.


Right sides together pin the flap section and faux leather piece together along a long edge. Sew a half inch seam.

Press the flap open, pressing both sides of the seam towards the faux leather (using a pressing cloth) and topstitch. You should now have a rectangle 15inch by 13 inch.
Attach the 2 ribbon ties.

Cut 2 lengths of ribbon 15" long. Place the 2 pieces of ribbon right sides together and pin to the right side of one of the shorter sides of the faux leather piece, just below the middle seam line. Pin and sew as near to the fabric edge as possible.
Cut the lining piece from satin,
15" by 13"
Also cut the pocket section in satin,
15" by 11"

Fold the pocket section in half down the middle (wrong sides together) to give a piece 15" x 5 1/2"

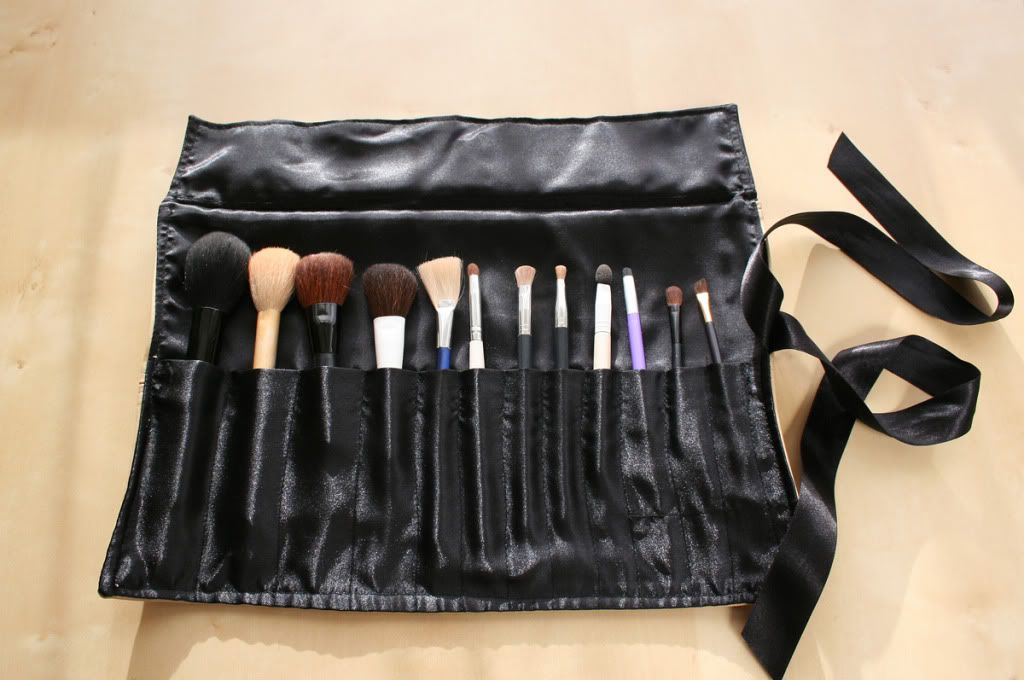
Lay your brushes onto the pocket section and mark the sewing lines. I drew a variety of widths for the different size brushes, and also drew a horizontal line for the smaller brushes (you don't want the brushes disappearing!).

Place the pocket section onto the right side of the lining piece and sew along the marked lines. I did a decent amount of backstitching at the ends of each line of sewing, as the pockets will be under tension when the brushes are removed and replaced.

Here you can see the lining and pocket sections sewn and ready to attach to the outer piece.


The roll can be tailored to suit your own brush collection, or even adapted for pens, pencils or knitting needles.
Read more, for the tutorial....
I originally had the intention of making the brush roll from cotton, but then I remembered the beige faux leather from my fabric stash, perfect! I call this type of fabric 'faux leather', but fake leather or vinyl is fine, I just can't bring myself to call it 'pleather'...urgh there's something very unpleasant about that word that makes my skin crawl!
Faux leather requires a couple of considerations when sewing. Needle and pin holes are permanent so only pin within seam allowances or use bulldog clips. A strong regular needle is fine but go slowly as the fabric is thick. A normal foot can cope with the wrong side of this fabric, but sewing on the right side requires a Teflon or walking foot, or the old skool method of sewing over baking parchment and ripping it off. (Note to self....choose an easy fabric for my next project!)
Items made from real leather tend to have extra seams to join small pieces together, often top stitched. So I incorporated this feature into the roll, but if you're making the project from regular fabric then you can omit this step.
You will need:
Faux leather approx 1/4 yard
Satin lining approx 1/4 yard
Fusible interfacing
Black satin ribbon approx 30"
You can adjust these sizes if you want a longer or taller roll, but obviously you will have to adjust all the lining measurements accordingly.
With right sides together sew a half inch seam down the long edge of the faux leather.
There's no need to neaten the raw edges of the faux leather.
Press the seam open, do not press directly on the faux leather as it will melt, use a pressing cloth or tea towel.
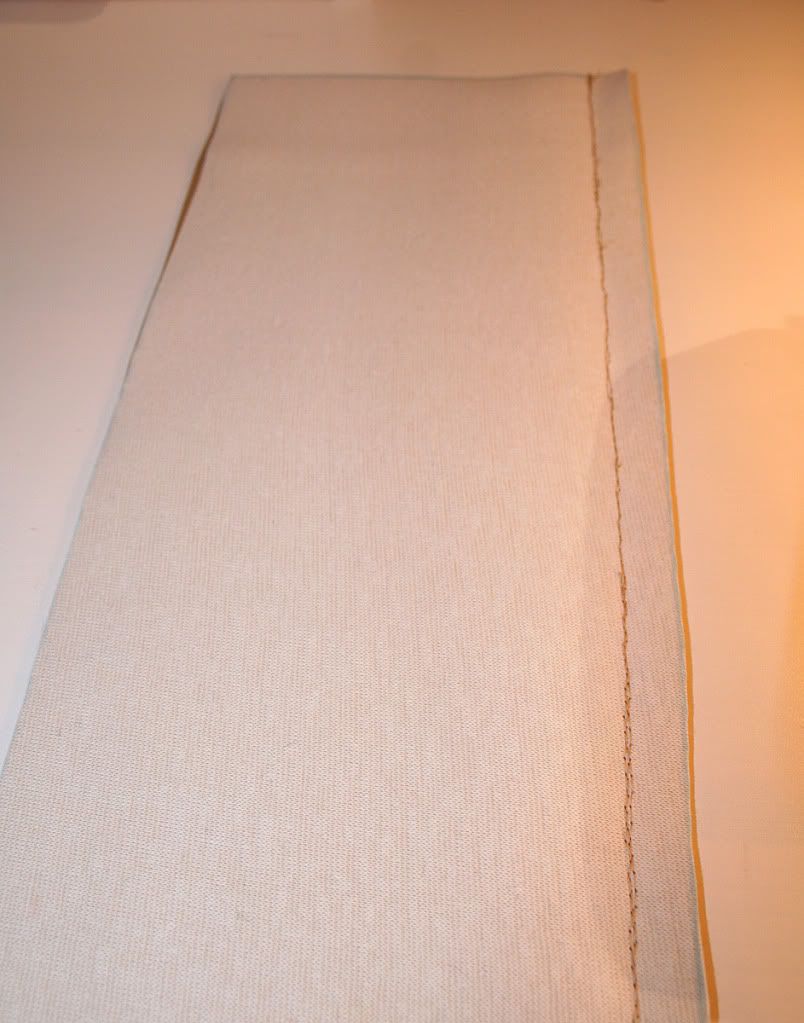
Right side up, top-stitch the faux leather on either side of the seam. I used baking patchment to help the fabric through the machine as I don't have a Teflon foot.
You should now have a rectangle 15" x 10". The addition of the extra seam plus top-stiching really makes the fabric look like real leather.
Now we can begin to assemble the make-up roll.
Cut the upper flap section in satin
1 piece 15" x 4"
Plus a corresponding piece of fusable interfacing. Iron the interfacing onto the wrong side of the flap section.
Right sides together pin the flap section and faux leather piece together along a long edge. Sew a half inch seam.
Press the flap open, pressing both sides of the seam towards the faux leather (using a pressing cloth) and topstitch. You should now have a rectangle 15inch by 13 inch.
Attach the 2 ribbon ties.
Cut 2 lengths of ribbon 15" long. Place the 2 pieces of ribbon right sides together and pin to the right side of one of the shorter sides of the faux leather piece, just below the middle seam line. Pin and sew as near to the fabric edge as possible.
Cut the lining piece from satin,
15" by 13"
Also cut the pocket section in satin,
15" by 11"
Fold the pocket section in half down the middle (wrong sides together) to give a piece 15" x 5 1/2"
Lay your brushes onto the pocket section and mark the sewing lines. I drew a variety of widths for the different size brushes, and also drew a horizontal line for the smaller brushes (you don't want the brushes disappearing!).
Place the pocket section onto the right side of the lining piece and sew along the marked lines. I did a decent amount of backstitching at the ends of each line of sewing, as the pockets will be under tension when the brushes are removed and replaced.
Here you can see the lining and pocket sections sewn and ready to attach to the outer piece.
Right sides together, pin the lining/pocket and outer piece together around all four sides. Make sure the ribbons are tucked into the centre and not caught in any seams. The 2 pieces should be the same size.
Sew around the edges with a half inch seam, leaving a couple of inches open for turning at the top flap edge.
Turn the make up roll right sides out through the opening. Top stitch around all 4 sides, closing the opening used for turning.
Place your brushes in the roll and and admire your handiwork! Now I just need a full set of MAC brushes to go with it *dream*!
(Please note: tutorial for personal use only, not for resale)


Comments
Post a Comment
I love reading your comments, so let me know what you think! x